
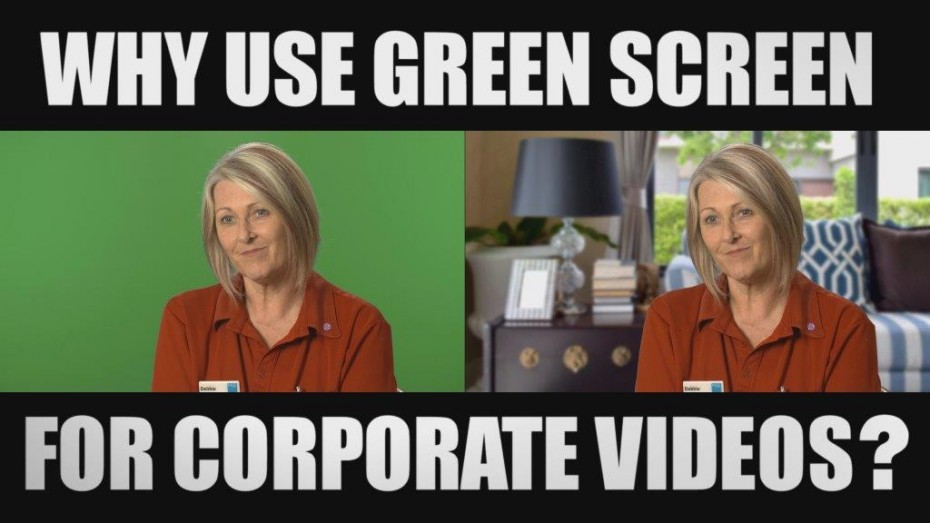
If you’ve never heard of green screens before, you’re not alone. But just because you’re not familiar with the concept, it doesn’t mean you haven’t seen them in action.
In fact, the chances are you see them every time you turn on your TV or head to the movies. They’re used by the majority of TV productions–including the daily weather update–as well as in advertising, and all the big films.
So what are they? Quite simply, they are exactly what the name suggests–a green screen! It might be painted onto the studio wall or used as a portable backdrop–it makes no difference–because the concept is exactly the same.
In today’s post, we’re going to share with you more about these mysterious green screens. What are they used for? How do they work? Should you be using them?
Keep reading to find out how a green screen can save you time and money when it comes to corporate videos.
How Do Green Screens Work?
All green screens, whether portable or fixed, work the same way and its technical name is Chroma key compositing. The person being filmed, which could be a TV presenter, actress or advertiser, stands in front of the well-lit, green backdrop and films whatever it is they’re filming. Nothing fancy, but the real magic happens post-production.
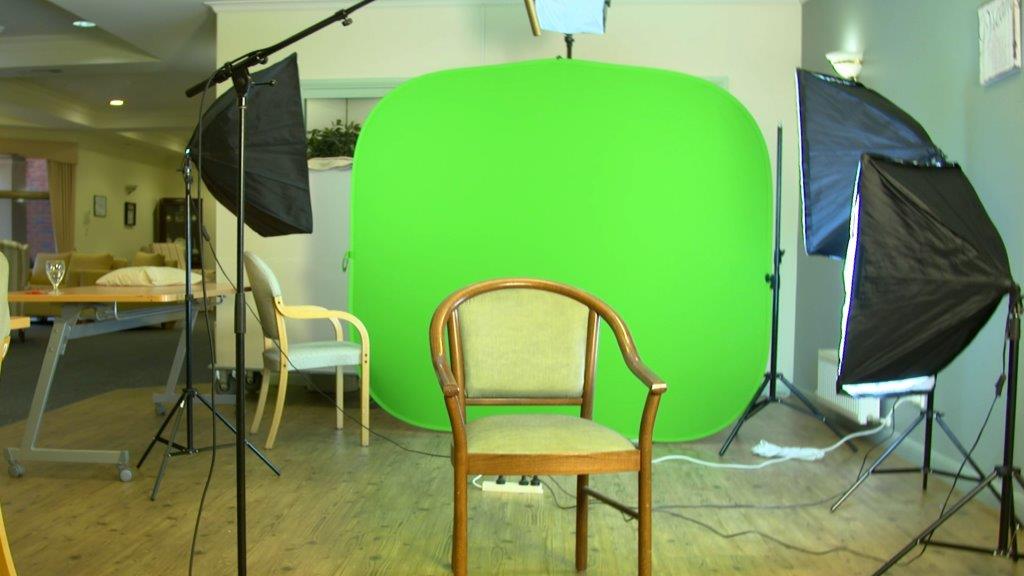
Portable green screen studio set up.
When the clip is being edited, the green backdrop is removed and is replaced with whatever it is you’ll see in the end result. This could be a map (e.g., for the daily weather broadcast)–or something a little more exciting.
For example, green screens are often used in Hollywood productions to add special effects that weren’t feasible to include in the original recording (big explosions, dinosaurs – that kind of thing).
The process of removing the green screen, and adding in the alternative background, is known as ‘Keying Out’ and ‘Keying In.’
Short Case Study
BJ Seminars has a course designed to teach Chair Chi and wanted a video to promote the course and educate clients on what Chair Chi is.
Over an 8 hour shoot day we needed to capture 2 classes in 2 different locations as well as 8 interviews.
Both classes ran for 30 minutes and would require 30 minutes for us to set up cameras, lighting and audio.
An interview location can take up to 45 minutes to set up and relocation of camera, lights and other production equipment can take a further 15 minutes.
In order to capture everything required in an 8 hour day we suggested doing each interview in a single location and use a green screen. That way we did not waist time on making up locations or relocating to new ones.
In post-production we added suitable images replacing the green background to complementing and realistic backgrounds. Below is the result that combines the classes and interviews
CHAIR CHI Green Screen Example from Rockmans Creative Media on Vimeo.
Is the Screen Always Green?
Most of the time, a green screen is used since it’s the easiest to key-in and key-out and is the colour least likely to be present in the original shot. However, in some situations, we need to use an alternative colour, often blue or red, to make it more effective.
For example, if the person filmed was wearing a green dress, this would be removed during the editing process and replaced with the background shot. Obviously, this isn’t the look we’re going for, so we would use a different colour instead.
Should You Use Fixed or Portable Green Screens?
Fixed green screens tend to be used more for recurring daily shots, like the weather broadcast, or for big productions taking place in a studio.
On the other hand, portable green screens can be used by anyone. They’re relatively inexpensive, and you don’t need to hire a specific location to use them. This means you have way more flexibility. You can choose to record in an environment suited to your recording like your boardroom.
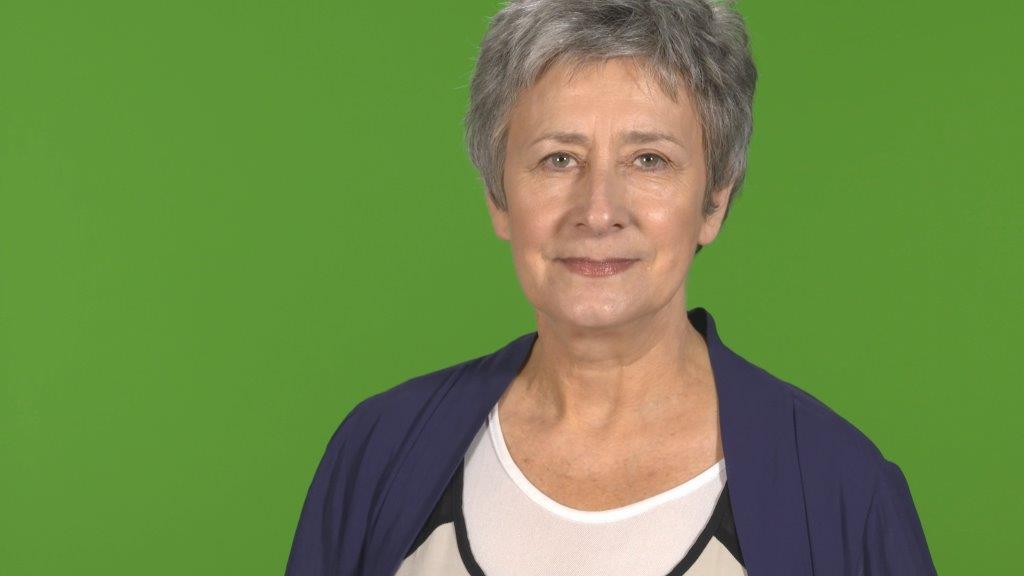
Presenter in front of green screen.
If you’re filming for your business, for example, it’s much better to record in an environment you’re used to since the end result tends to be more natural. This is also a more efficient way to record your videos. You know where everything is; you don’t need to take time out of your day to get there and get acquainted with the environment, so you can get the results you need much faster!
Here’s a second green screen video example. This video is part of a set of 16 videos created for Positive Ageing Resource Centre. All 16 videos were captured over a single shoot day, which would have been impossible to do if we had 16 different shoot locations.
Positive Aging Presentation Green Screen Example from Rockmans Creative Media on Vimeo.
Although they can be used anywhere, it’s important to make sure the area is consistently well lit. The colour of the green on the screen needs to be even throughout. Often, the best way to achieve this is through artificial lighting that mimics natural light.
So, as long as you have enough room for the green screen, the lighting setup, and whatever it is you’re recording, you’re good to go!
For information on RCM visit our home page or contact us to discuss our portable green screen productions.
Did you find this information useful? Please share it and spread the knowledge!
Comments 1
I need to to thank you for this fantastic read!!
I certainly loved every little bit of it.
I have got you saved as a favorite to check out new stuff you post